Introduction
As someone who just moved out, I totally understand how difficult cooking can be! When I lived at home, watching my parents cook seemed so effortless. But when I had to do it myself, I discovered: clumsy knife skills, poor control of cooking temperature, and endless kitchen problems... It was truly frustrating!
However, after a year of trial and error, I transformed from someone who couldn't even fry an egg without burning it into a "chef" capable of preparing a table full of delicious dishes. Today I'm sharing my year's worth of mistakes and experiences with you, hoping to help you avoid some of the pitfalls!
Ingredient Preparation
Perfect Peanut Butter Mixing
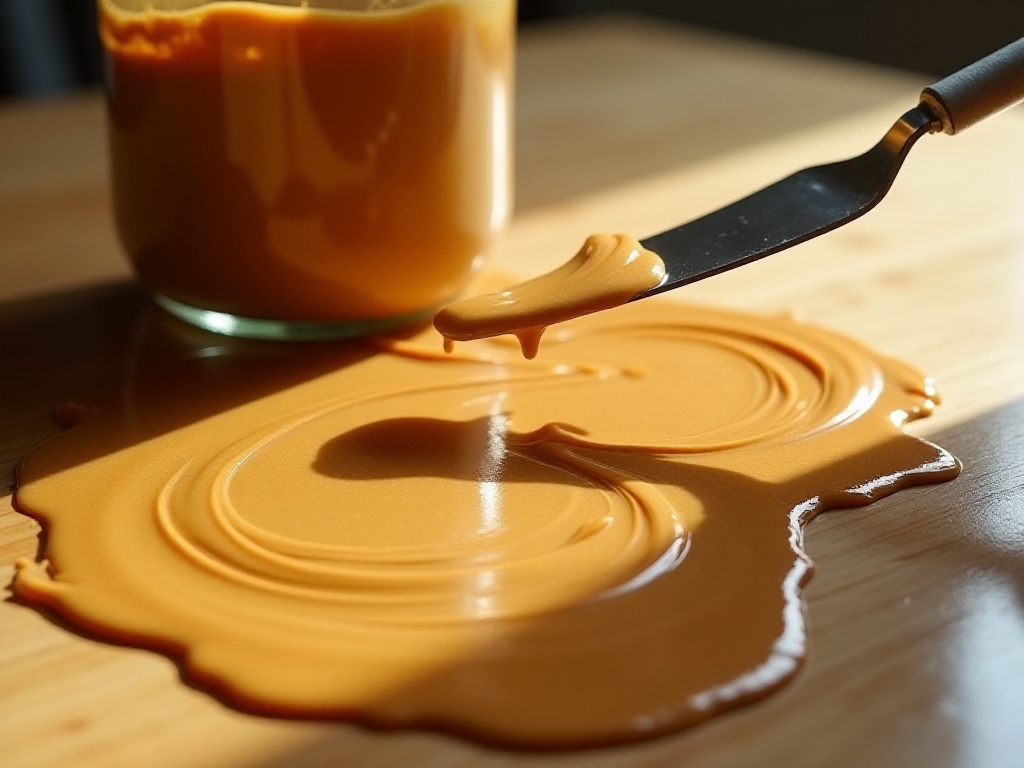
I remember my first time buying peanut butter - seeing that hard layer at the bottom of the jar was so frustrating! Using a spoon didn't work well - the top was too runny, the bottom too hard. Storing it upside down risked leakage. Then I found a tip online: use a butter knife to stir in a spiral pattern from the edge of the jar toward the center.
At first, I was skeptical, but when I tried it - it was magical! The butter knife's design perfectly follows the jar's curve, gradually mixing up the hardened peanut butter from the bottom. The spiral stirring method helps blend the entire jar thoroughly, making it perfectly smooth. Now I use this method every time I open a new jar of peanut butter, and never worry about that hardened bottom layer anymore.

Revolutionary Herb Processing Method
When it comes to herbs, I used to have a love-hate relationship. I loved the aroma they added to dishes but hated the process of picking off the leaves. Picking them one by one was not only time-consuming but also left my fingers smelling like herbs.
Then one day, I saw a brilliant method on a video site: pull the herb stems backwards through the holes of a strainer, and all the leaves stay on top! This genius invention accomplishes in seconds what used to take several minutes. Plus, the strainer's design keeps the leaves intact without crushing them.
Now I use this method every time I process herbs. It works great for thyme, rosemary, or mint. The leaves collected in the strainer are perfectly neat and ready to use without any additional sorting.
Perfect Cheese Cutting
Previously when cutting cheese, it would always stick to the wrapper. Pulling hard would break the cheese; pulling slowly wasted time. Later I discovered that using clean scissors to draw a straight line along the wrapper's edge makes it easy to remove the cheese intact.
This method not only maintains the cheese's integrity but is also very efficient. Plus, the remaining cheese stores better since the wrapper isn't torn. I now keep a dedicated pair of scissors for cutting cheese, carefully washing and drying them after each use to prevent any odors for next time.
Fruit Processing Tips
Regarding fruit processing, I recently discovered a really useful technique. For example, when cutting pineapple, many people just cut off the outer skin, but this wastes a lot of flesh. Actually, you can first cut the pineapple into thick horizontal slices, then use a small knife to cut around the border between the flesh and skin - this way you can remove the flesh completely while maintaining a beautiful shape.
Pomegranates are also tricky to process. I used to dig out the seeds one by one, which was not only time-consuming but also stained my hands red. Later I learned a new method: first cut the pomegranate in half, then gently tap the back with a wooden spoon, and the seeds will fall out on their own. This method is not only quick, but the seeds remain intact, perfect for salads or decorating desserts.
Vegetable Preservation Secrets
When I first started living alone, I often found vegetables going bad after just a few days. Through constant experimentation, I've discovered some preservation tips.
For lettuce, don't put it directly into a storage bag after buying. First dry it with paper towels, then wrap the leaves in paper towels before putting them in the storage bag. This absorbs excess moisture and prevents the lettuce from turning yellow and spoiling.
For vegetables that wilt easily like chives and cilantro, treat them like flowers: put the roots in a glass with a little water, cover the leaves with a plastic bag, and store in the refrigerator. This not only keeps them fresh but allows them to continue growing - it's amazing!
Kitchen Equipment Maintenance
New Oven Cleaning Method
The oven might be one of the hardest kitchen appliances to clean. Especially those stubborn oil stains on the oven glass - regular cleaners just don't cut it. I tried various methods before: spray cleaners, steel wool scrubbing, but none worked well.
Then one day, I discovered a great method: using a scraper carefully. This might sound scary, but if you control the pressure, it won't damage the glass. Those baked-on food residues come off like butter under the scraper.
However, there are a few things to note when using this method: first, choose an appropriate scraper, preferably one specifically designed for glass cleaning; second, control the pressure and maintain a consistent angle while scraping; finally, remember to wipe with a damp cloth afterward to clean up the residue.
Cast Iron Pan Savior
Cast iron pans are one of my favorite kitchen tools, but they're definitely tricky to maintain. Once when cooking steak, I wasn't careful with the heat and ended up with a huge burnt spot on the bottom that wouldn't scrub off. I almost gave up on the pan and thought I'd need to buy a new one.
Later I found a method on a food forum: pour some water into the pan, add baking soda, bring to a boil, and let it sit for ten minutes. When I tried it - amazing! The stubborn burnt spots softened and came off easily with a brush. Plus, this method doesn't damage the pan's surface. After cleaning, just dry it over heat and apply a layer of oil, and the pan stays glossy.
Now I use this method to clean my cast iron pan every time. I've found that with proper care, cast iron pans actually get better with use - completely non-stick and perfect for searing steaks to a beautiful crust while keeping them juicy inside.
Daily Cutting Board Care
Regarding cutting boards, many people might think just rinsing with water is enough. But proper cutting board care is actually quite important. I previously didn't maintain my cutting board well, resulting in many scratches and strange odors.
Later I learned the correct maintenance method: after each use, first rinse off surface residue with clean water, then disinfect with salt and lemon. The specific process is: first sprinkle a layer of salt, then use half a lemon to rub the salt over the entire board. The lemon's acidity not only kills bacteria but removes odors, while the salt acts as a natural disinfectant.
Finally, rinse with clean water and dry standing up. Never lay the cutting board flat, as this can trap water and breed bacteria. Once completely dry, you can lightly rub with cooking oil to prevent wooden cutting boards from cracking.
Storage Solutions
Perfect Bedding Storage
After moving out, I discovered that storage is a major skill. Especially with bedding - if you just stuff it in the closet, it not only wrinkles but becomes a hassle to find.
My current method is to fold sheets, duvet covers, and pillowcases and store them all in one pillowcase. This keeps bedding neat and easily accessible. Plus, keeping matching sets together means no more searching through drawers when changing sheets.
The folding method matters too: first fold large items like sheets and duvet covers several times until they're about pillowcase size, fold the pillowcases, then pack everything into a spare pillowcase. This storage method is not only neat but space-efficient.
Refrigerator Storage Revolution
Fridge organization is truly a skill! At first, I often couldn't find things until they were already expired. Later I changed my storage method: categorizing ingredients in different storage bags, then arranging them vertically in the freezer like books.
This method has several benefits: first, storing vertically allows each bag to show part of its contents, making it easy to see what's inside; second, this arrangement saves space and allows for storing more items; finally, it's very convenient to retrieve items without having to dig through other ingredients.
I now also label storage bags with the date items were stored, ensuring a first-in-first-out use of ingredients to prevent expiration. Honestly, since adopting this method, my fridge's efficiency has improved significantly, and I never find expired food anymore.
Scientific Seasoning Storage
Storing seasonings is another challenge. I used to keep all seasonings in the cabinet, but had to dig through everything to find what I needed while cooking, which was very time-consuming. Later I bought a rotating spice rack and arranged seasonings by frequency of use.
The most frequently used items like salt, sugar, and soy sauce are placed in the most accessible positions, while less-used spices go in the back. I also categorize seasonings: dry ingredients on one level, sauces on another, making everything easy to find.
For seasonings that easily absorb moisture, like sugar and salt, I store them in airtight containers. This not only prevents moisture but looks very neat. Plus, the containers are reusable, making them more environmentally friendly than original packaging.

Cleaning Tips

Dye Removal Method for Clothes
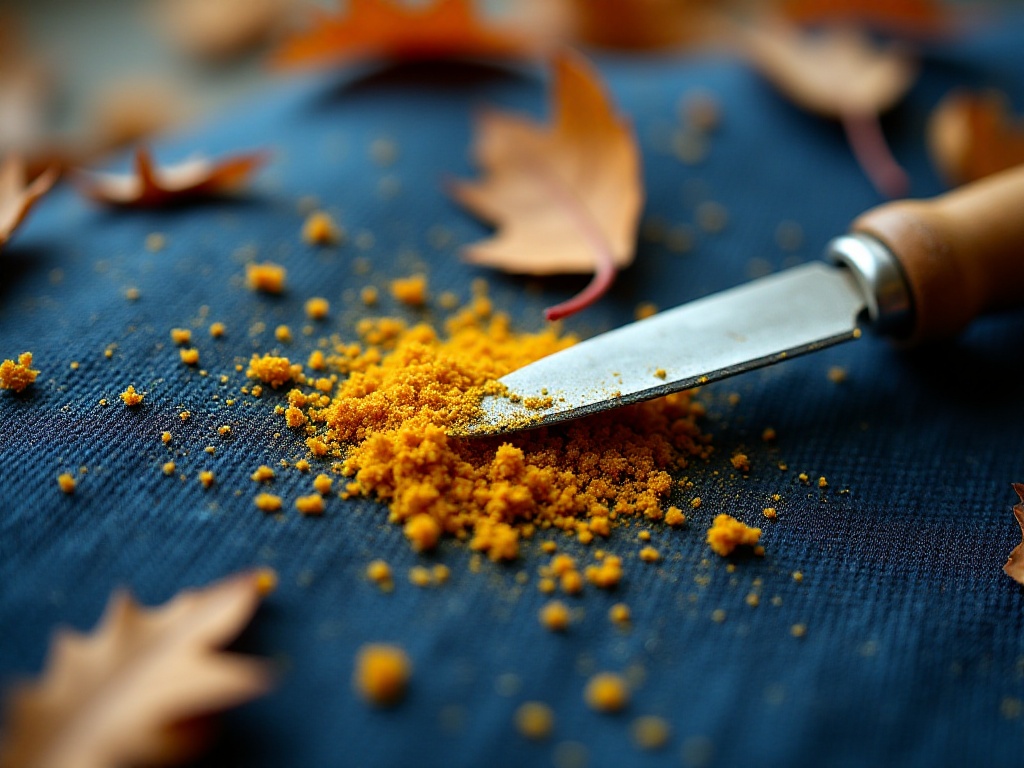
As someone who cooks frequently, accidentally getting sauce or dye on clothes is common. I used to really fear dealing with these stains, thinking the clothes were ruined. But later I discovered a very effective method: after the dye completely dries, gently scrape it with a scraper - most of the dye can be removed.
The key to this method is waiting for the dye to completely dry. If you try to clean it while wet, you'll just spread the dye further. Once dry, it forms a thin film that can be easily scraped off.
For any remaining dye spots after scraping, use a professional stain remover. I usually test the remover on an inconspicuous area first to ensure it won't damage the fabric. With this treatment, most stains can be removed, and the clothes remain wearable.

Label Removal Tips
New kitchen equipment always comes with labels that leave annoying adhesive residue when removed. I used to scratch it off with my fingernails, which was not only difficult but could scratch the equipment. Later I discovered a simple method: use a hair dryer to blow hot air on the label.
The hot air softens the adhesive, making the label easy to peel off without leaving residue. If there's still some adhesive left, wipe it with cooking oil, then clean with dish soap. This method works not only for kitchen equipment but for labels on other items too.

Daily Sink Cleaning
The sink is probably the place in the kitchen most prone to accumulating dirt. Now after using the sink, I always rinse it with clean water and dry it with paper towels. This prevents water stains from leaving marks on the sink surface.
I do a deep clean weekly: first sprinkle baking soda on the sink surface, then wipe with a cut lemon. The alkalinity of baking soda combined with the lemon's acidity not only removes water scale but eliminates odors. Finally, rinse with clean water, and the sink becomes shiny like new.
For the drain, I regularly flush it with boiling water to dissolve grease and prevent clogs. If I notice slow drainage, I sprinkle some baking soda, pour in white vinegar, wait for the foam to subside, then flush with hot water - this unclogs the drain.

Conclusion
Honestly, this year of kitchen life has taught me so much. From initially being overwhelmed to now being able to handle various kitchen issues with ease, the process has been challenging but very rewarding.
These tips might seem simple, but they really can make our kitchen life easier. I hope my experience can help you avoid some pitfalls in the kitchen. After all, life isn't easy, so why not make daily chores a bit simpler if we can?
Afterword
These tips are from my personal experience, but everyone's situation might be different. I suggest starting small when trying them out and finding what works best for you.
Remember, every small improvement in the kitchen is an enhancement to our quality of life. Don't think these small things aren't important - it's these details that make our lives better. If you have any questions while using these tips, or have other useful tricks, feel free to let me know so we can improve together.


