Opening Thoughts
As a working professional who just moved out on my own, kitchen cleaning really gave me a hard time. Once when a friend visited my new home, I prepared a feast, but when I opened the microwave, the thick layer of grease nearly died of embarrassment, creating a very awkward moment. However, after two years of hard work, I've finally evolved from a cleaning novice to an expert, and today I'll share my insights with everyone.
Microwave Revolution
To be honest, I really didn't know where to start with the microwave at first. That cramped space, where you can't even reach inside, impossible to wipe clean, was truly frustrating. Later, while surfing the internet, I discovered a miracle cleaning method - the lemon steam technique.
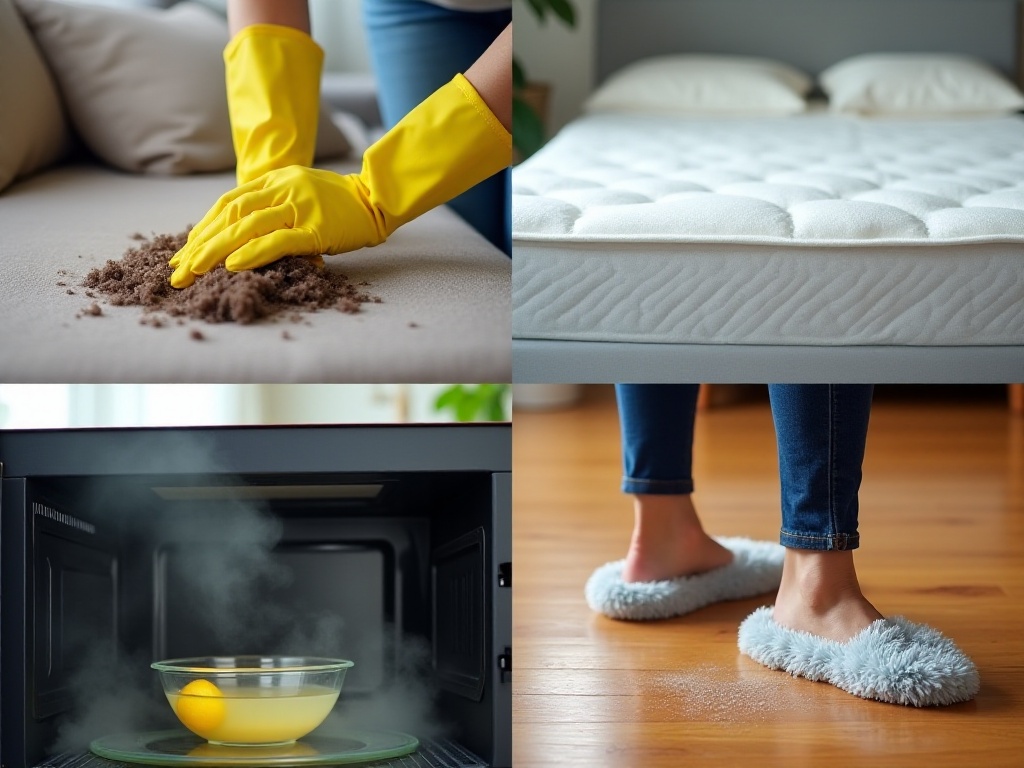
The operation is super simple: take a lemon, cut it in half, put it in a bowl of warm water, and microwave for two minutes. That's when the magic happens - the lemon steam slowly spreads inside the microwave, softening all that stubborn grease. After the steam dissipates, just wipe with a paper towel, and the grease comes right off.
I was absolutely amazed the first time I tried this method. Those grease stains that wouldn't come off no matter how hard I scrubbed suddenly cleaned up effortlessly. What touched me most was that this method doesn't require any chemical cleaners, making it environmentally friendly and completely harmless to humans. Plus, the lemon fragrance stays in the microwave, so you can smell a hint of lemon the next time you heat food.

Baking Tray Savior
When it comes to kitchen cleaning nightmares, baking trays definitely rank in the top three. The first time I baked a cake, I misjudged the tray size, and the batter overflowed and burned - it was a horrible sight. Using steel wool to scrub hard would damage the coating; soaking in cleaner raised concerns about harmful residues.
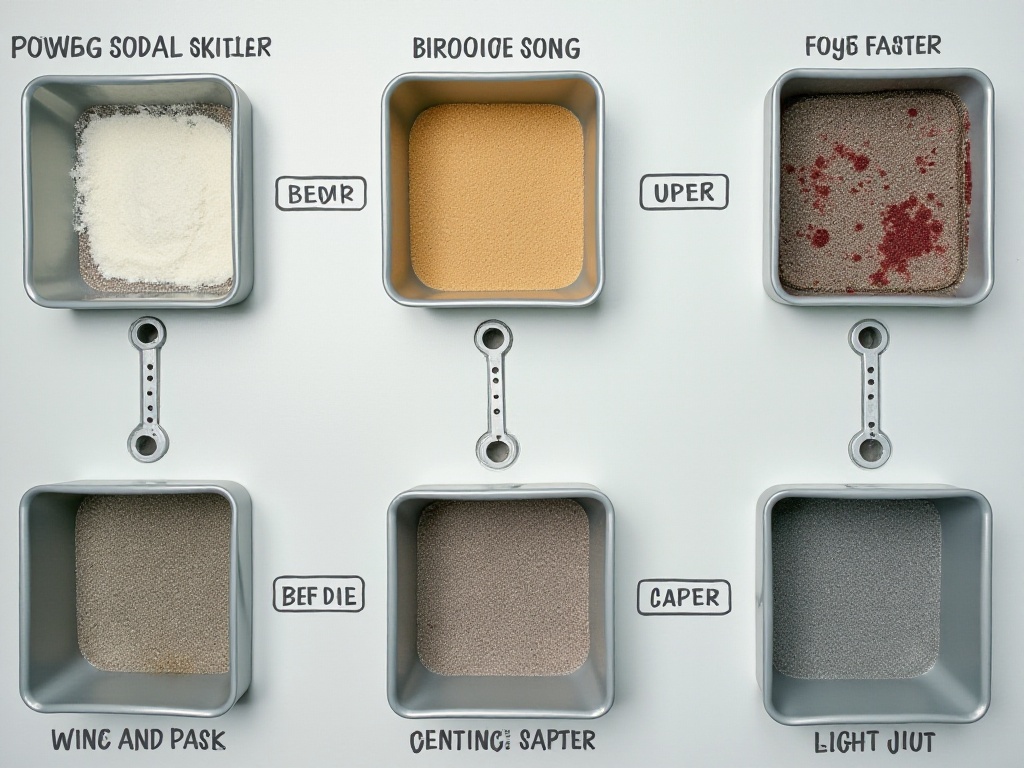
After countless trials and failures, I finally discovered the magical baking soda bath technique. The specific method is: first clear off loose residue, then evenly sprinkle a layer of baking soda, and spray some white vinegar on top. You'll then witness an amazing chemical reaction - the baking soda and vinegar create lots of tiny bubbles that slowly penetrate the blackened stains, breaking them down bit by bit.
When the bubbles have mostly disappeared, a gentle wipe with a sponge makes those stubborn stains soft and easy to clean off. Now whenever I use the baking tray, no matter how dirty it gets, I always use this method, and it's never failed. The key is that baking soda and white vinegar are common household items, readily available and very convenient.
Cutting Board Disinfection
Many people probably thought like me that cutting boards were one of the hardest things to clean in the kitchen. Especially after cutting meat or seafood, that smell just wouldn't go away, even with vigorous scrubbing with dish soap. Until I discovered the second magical use of lemons - cutting board disinfection.
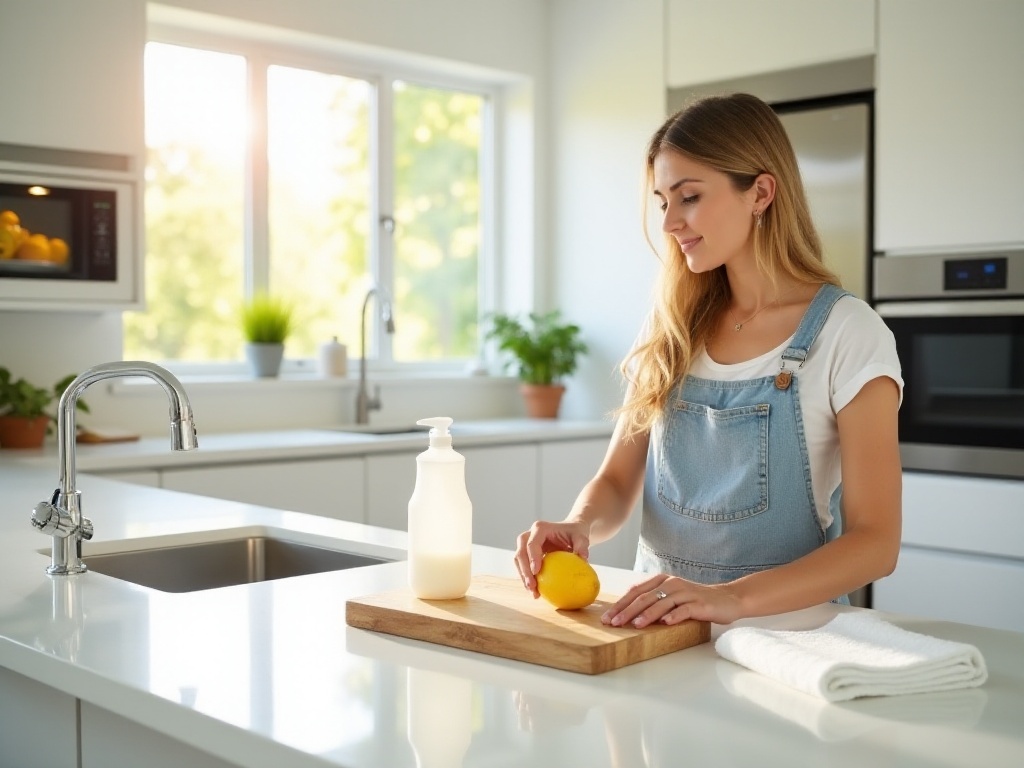
The method is simple: cut a lemon in half and rub the cut surface directly on the cutting board. The lemon juice will seep into the board's texture, then let it sit for ten minutes to work its magic. The natural acidity of lemons not only disinfects but also neutralizes various odors. Finally, rinse with clean water, and the cutting board becomes perfectly clean and fresh.
Now I use this method to clean my cutting board after every use. I've found that cutting boards regularly cleaned with lemon don't easily mold or develop unpleasant odors. By the way, if you don't have fresh lemons, lemon juice works almost as well.
Faucet Descaling
Speaking of faucets, that's truly a tale of blood and tears. My tap water is quite hard, and before long, the faucet surface would develop a layer of white limescale. At first, I foolishly tried to scrape it off with my fingernails, resulting in injured fingers while the limescale remained unmoved.
Later I discovered that white vinegar is truly the superstar of descaling. Just pour white vinegar on a cloth, then place the cloth on the limescale areas of the faucet, wait about ten minutes, and the limescale will be softened by the acetic acid. Then, gently scrub with a toothbrush, and the limescale falls off like snowflakes.
Now I do a deep clean of the faucet using this method about once a month. On average, each cleaning only takes 15 minutes, which is more efficient than using professional descaling products. Plus, white vinegar is cheap and environmentally friendly, so there's no burden in using it.
Stainless Steel Care
Stainless steel items are truly the beauty queens of the kitchen, but those annoying fingerprints are really frustrating. Every time after cooking and washing hands, just touching the refrigerator or oven door leaves a clear series of fingerprints, which really affects your mood.
I tried various cleaners before, but the results weren't ideal. Either new fingerprints would appear quickly after cleaning, or the cleaner's smell was too strong. Until one day, while organizing the kitchen, I accidentally smudged some olive oil on the refrigerator door. Just as I was about to wipe it off, I suddenly noticed that area was particularly bright and felt very smooth to touch.
Since then, I've started using olive oil to maintain all stainless steel surfaces. The method is simple: take a tiny bit of olive oil (really just a very small amount), and gently wipe the stainless steel surface with a soft cloth. The olive oil forms a protective film on the surface, not only restoring the stainless steel to its factory shine but also preventing new fingerprints.
Based on my experience over the past year and more, stainless steel surfaces treated with olive oil can maintain their cleanliness for at least a week. Plus, olive oil is edible, so there's no need to worry about health effects. Now I do an olive oil treatment for all the stainless steel products in my kitchen every weekend, and it feels like the whole kitchen is glowing.
Carpet Emergency
Speaking of carpet cleaning, I must share my painful lesson. It was a weekend last year when I hosted a small gathering at home. Everyone was chatting happily when suddenly a friend's hand slipped, and an entire glass of red wine spilled on my beige carpet. My heart sank at that moment because I had read many posts saying red wine stains were the hardest to deal with.
But in the crisis, I forced myself to stay calm. I immediately found a clean white towel (it must be white so you can see if the stain is really being cleaned), dampened it with cold water, and gently patted the stained area. Here's a crucial point - never rub, or the stain will penetrate deeper.
After about ten minutes of repeated patting, a miracle happened - the red wine stain gradually faded, eventually leaving only a very faint mark that completely disappeared after naturally drying for a few days. Since then, I've successfully used this method to handle more than ten carpet stains from various beverages and soy sauce, with a success rate of nearly 90%.
If a stain is particularly stubborn, I'll sprinkle some baking soda on it at the end, wait for it to dry completely, then vacuum it up. This trick is especially effective for stains with odors.
New Cleaning Discoveries
In the past year, I've discovered some particularly creative tricks in daily cleaning. For example, using rubber gloves to clean pet hair is truly a game-changing discovery. Just wear rubber gloves and run your hands over the sofa or carpet, and those stubborn cat or dog hairs will be attracted to the gloves by static electricity.
Another trick is putting a stocking over the vacuum cleaner nozzle to prevent small items from accidentally getting sucked in. Once when I lost an earring on the floor, I found it using this method. These methods might seem simple, but they're really practical.
I also discovered that cooking oil isn't just good for removing fingerprints from stainless steel; it's also effective for dealing with tape residue on walls. Just gently rub a little oil on it, and the sticky residue from tape will gradually soften and can be easily wiped away.
Time-Saving Tips
After so many cleaning experiences, I've summarized a very practical cleaning order. First is following the basic principle of "top to bottom" to avoid repeated work. Specifically, start with the ceiling and walls, then cabinet countertops, and finally the floor.
Now I follow this order for every deep cleaning: first use a long-handled duster to clean cobwebs from the ceiling and wall corners, then wipe the walls and door frames. Next, clean the cabinet countertops and various appliance surfaces. After all this is done, vacuum the floor, and finally mop. The advantage of this approach is that dust falling from above will be cleaned up in the final step, avoiding re-dirtying already cleaned areas.
I also have some insights on choosing cleaning tools. For example, it's best to have two mops, one specifically for floors and another for walls. This prevents cross-contamination. The same goes for cleaning cloths - it's best to use them separately, like one for kitchen counters, one for dishes, one for the bathroom, and wash them separately.
Final Thoughts
These two years of cleaning experience have taught me one thing: cleaning isn't about physical labor at all, it's truly about technique. With the right methods, even the dirtiest kitchen can be easily managed. Often, we find cleaning tiring because we're using the wrong methods. Like how I used to scrub hard, ending up exhausted with poor results, but now I've learned to use some tricks that make the work twice as effective with half the effort.
Finally, let me share one habit I find particularly important: regularly cleaning your cleaning tools. After all, tools used daily for removing grime and dirt become dirty themselves. I now dedicate a short time every weekend specifically to washing various cleaning tools, including cloths, mops, toilet brushes, etc.
The specific washing method is also simple: first rinse off surface dirt with clean water, then soak in disinfectant for a while, finally rinse thoroughly with clean water, and dry for future use. After sticking to this habit, I've noticed that cleaning tools last longer and clean more effectively.
Oh, about storing cleaning tools, I have a small suggestion: it's best to find a well-ventilated place specifically for storing cleaning tools where they can dry thoroughly. I installed several hooks on my balcony to hang various cleaning tools, which makes them not only convenient to access but also keeps them dry and clean.
These are the cleaning insights I've gathered over the past two years - I hope they're helpful to everyone. Actually, keeping your home clean isn't difficult; the key is developing good habits and mastering the right methods. Once you have the right methods, cleaning can become an easy and pleasant task.


